Showing posts with label Hand-made gifts. Show all posts

Last Minute Mother's Day Gifts Round-up

If you are anything like me, you live with an illusion that there is an abundance of time before a holiday, or an important person's birthday. You have a ton of ideas up your sleeve about what you will do to celebrate that special day. And then, as if in a blink of an eye, that day is here, and your mountain of ideas have fallen to the wayside. You rush around haphazardly putting something together, but it is never as good as if you actually took the time and planned it out.
Luckily we have 2 days left before Mother's Day. I scoured the internet last night searching for the cream of the crop in terms of last minute creations. Here is what I found:

This handprint vase tutorial I found at Mama Mia's Heart here

Mother's Day Handprint Apron found at B-Inspired Mama here
"Hanging around" bookmark. After finding this tutorial on Pink and Green Mama's site here, I made some of my son for his grandfather's birthday (see our rendition, here). I think moms and grandmothers alike would like them as well, don't you?

I found this tutorial years ago via Crafty Crow. It is from Fun with Mama. Check it out here. When my son was only two years old I made a few for presents. Now that he is 4 I want to do it again!

Happy Mother's Day to all you mamas out there! Have fun! And don't forget, if you have to, it is completely OK to create these keepsakes for yourself with your child if nobody else is going to do it. These relics will create memories that you will cherish throughout your life; it is well worth the time and effort!

Pin It!

DIY Jump rope: Made from Marker Caps!


Spring is finally kicking in where I live — that is in the Pacific Northwest — and sunnier, warmer days translate to a complete transformation in people's energies around here. So for the past week, my son and I have found ourselves outside every chance we could get: riding bikes, visiting parks, and taking nature walks. It has been fun, but I have sadly neglected my blog. Now I am back and I am refreshed. I look forward to the week ahead —  for I have a lot of activities in store to share as we lead up to my favorite day of celebration, Earth Day!

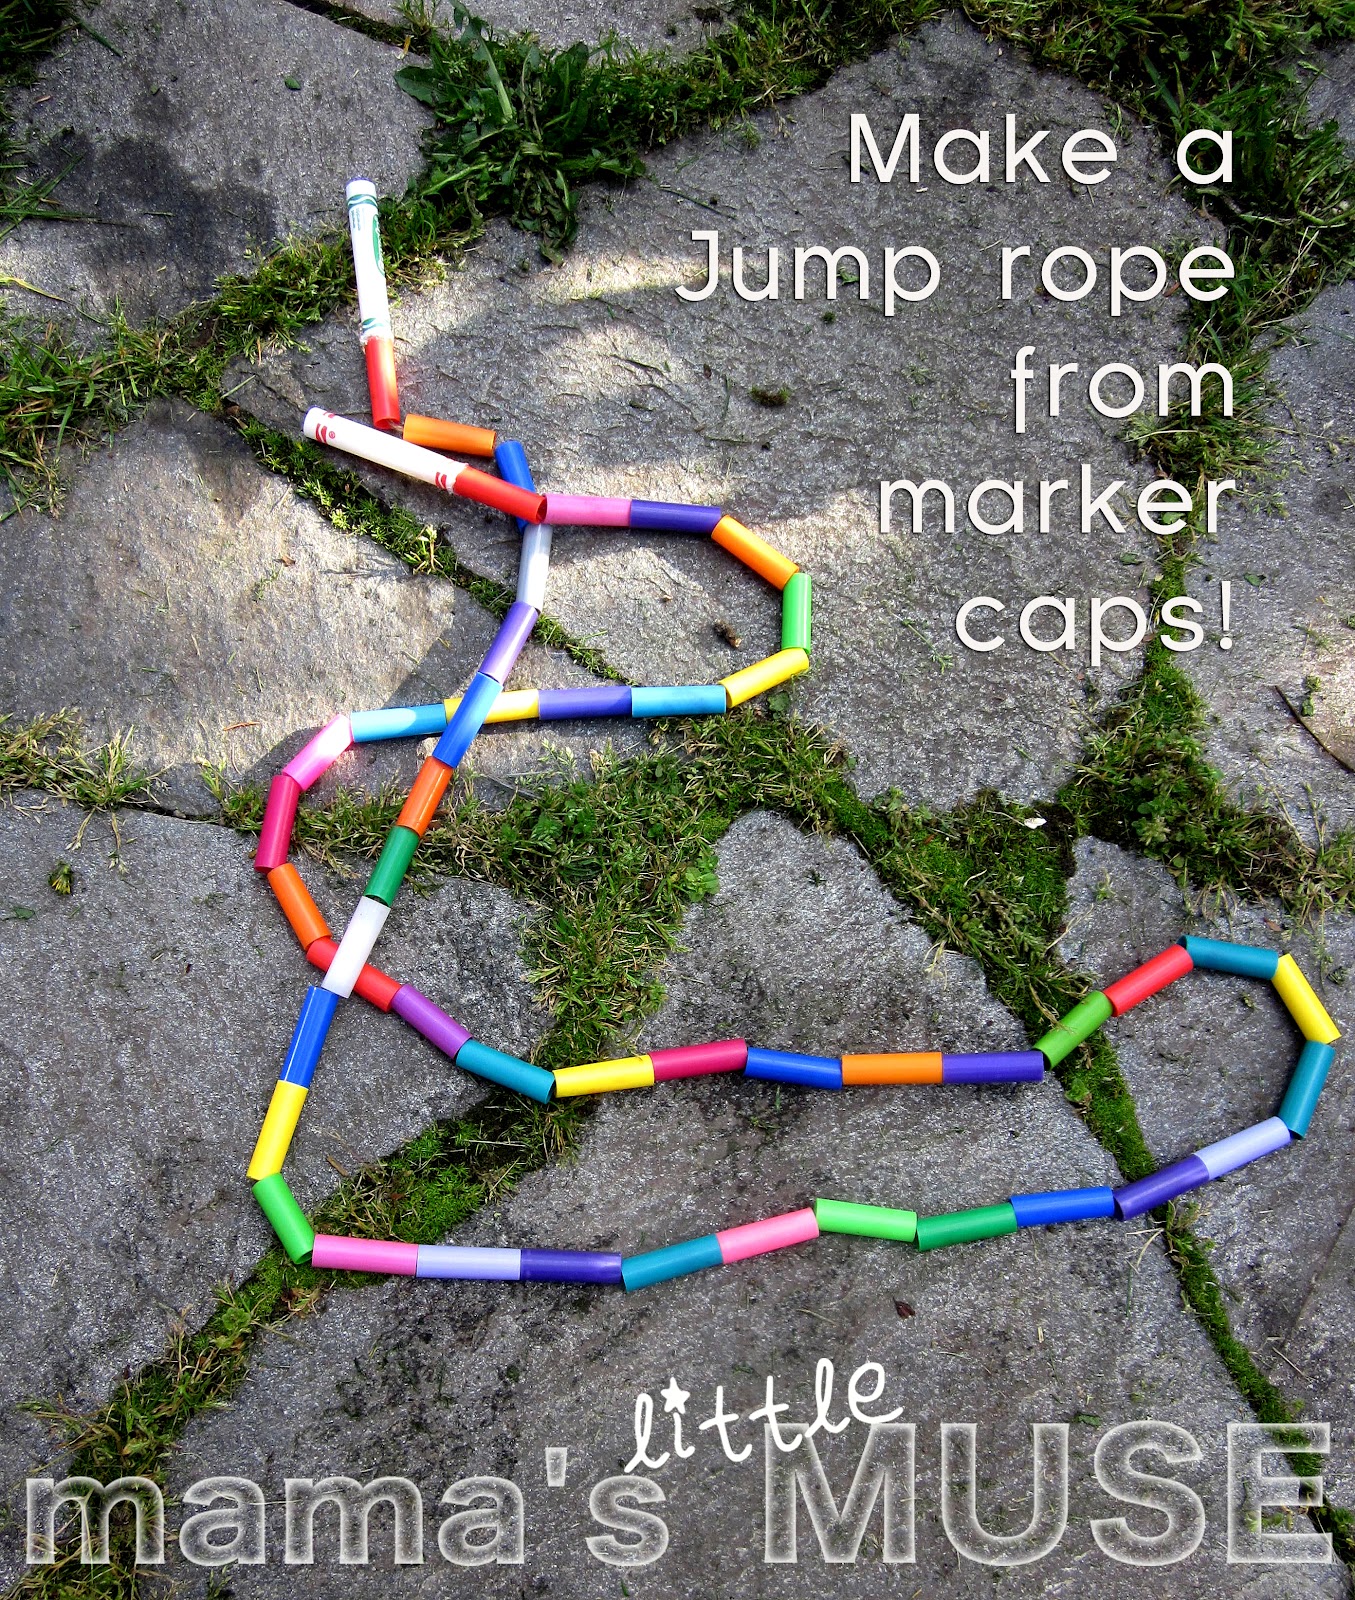
Yesterday, I had a friend come over, and she brought her 2 children along for a play date with Bode. Her daughter is nine, and I had a perfect craft up my sleeve for her. I had been planning to do this craft/activity for awhile now — that is making a jump rope out of old dried-out markers. Not only was it perfect for a girl her age but it also goes along with the theme of Earth Day. It feels satisfying to recycle materials that would otherwise go into our waste stream. And having this craft cost next to nothing isn't too shabby either!

At the school that I work at and at my house, I have been collecting marker caps for months. I saw the idea of making a jump rope using them somewhere along the way (I wish I remembered where!) and wanted to try my hand at it. Now was the perfect time.


Materials we used:
  • Crayola marker caps from dried-out markers
  • 2 crayola marker bottoms, (Just the capsules, the inside "ink" part removed)
  • twine
  • pipe cleaner
  • scissors
  • Drill with a drill bit 11/64 in size
  • glue gun (not shown in picture above)
First I drilled through each marker cap. This is an adult job! Hold the marker caps tightly and securely on the side. Please be careful! At first my grip wasn't tight enough on the marker cap causing it to spin around fervently. After a while though, I figured it out, no harm done!

Have child hold twine as if they were holding a jump rope to determine the length plus a little extra.  Cut the twine and tie one end in a knot. Create a "sewing needle" with the pipe cleaner by bending it in half over the other end of the twine. Twist the pipe cleaner to secure it.

Thread the first cap so that the knot is positioned inside the cap. This will be one of the handles of the jump rope. Attach the bottom of the marker (the "capsule" part) onto the cap, so that it looks like a regular marker. The knot is hidden, and twine is coming out the top.


Add marker tops, one by one, until desirable length is reached. Thread the last cap the opposite way as when you began. Tie a knot big enough so that it won't fall through the hole. Attach the bottom of the marker for the other handle. There will be an inch or so of slack, which is fine. At this point I heated up the glue gun, and glued the caps and bottoms of the handles together to prevent them from coming undone.


My friend's daughter tested it out and WOO-HOO! It was a success! And she was a good jump roper (if that is a word!) too!

My son trying it out. His feet kept getting in the way!

Soon after my friend's son (who is 6), and my son (who is 4) both gave it a whirl, and let's just say, it made me realize that learning to jump rope is something that comes with age and practice. A few more years and they will master it too, I am sure!

Have fun!

*****Update: I realized where I heard of this idea originally...I did a search and found it on Crafty Crow's website. The post was contributed by Mommy on a Shoestring. You can find the her post here. (I always want to give credit where credit is due!:)

Along with linking up at my regular places (see Link-ups and Blog Hop page), I also linked up to The Earth Day Celebrations Blog Hop at Mommy Labs. Check it out here.

Also I have linked up to: 
Little Wonders' Days


Pin It!

String Art Heart

String Art Project
Last weekend I went on a mini road trip and visited an old friend of mine, Jenny, in her new house 2 hours away from here. She is one of those friends that, despite distance and time, our friendship always takes off again where it last left off. I love friendships like that — no initial shyness, just being-ness. She has always been a crafty soul and this is one of the reasons why I think we have always connected so well.

Jenny's String Art Star
While sitting in her front room, I spied a precious little treasure on a shelf nearby (pictured above). The hand-crafted object looked like one of those antique relics one might find in a colonial arts museum.

Inscription on back
After further investigation I discovered that this object — made up of nails, wood and string —  was actually made by my friend when she was young. Flipping it over and reading the words on the backside I realized that it was a present to her "Mumsie", AKA, Grandma. How cool! I can only imagine how touched her grandmother felt to receive such a thoughtful gift from her. I knew right away what my next project would be with my son. Because Valentine's Day was right around the corner, I thought positioning the nails to form a heart shape would be just perfect.
This project turned out to be a great way to introduce my 4-year-old son to using a hammer and nails. I do, however, think that it might be better suited for older kids (7 and up) as they will be able to do more of the steps by themselves (like holding nails, hammering them in, and tying knots).

Materials needed:
  • 2x4 piece of wood cut into a square
  • medium grain sandpaper
  • hammer and nails (I used an 1.25" length nails with a head on them: "bright nails")
  • paper
  • scotch or masking tape
  • scissors
  • string
  • ribbon

Step one: Sand down edges of the wood block. I had to show my son how to do this by placing my hand over his and showing him the back and forth movement.

Step Two: Cut out a symmetrical paper heart that fits well on block. Center and place tape on the back and secure it down on wood.

Step Three: Hammer nails down around the edge of the heart spacing them about a half inch apart. I had to hammer in the nails first so they were secure and then I let my son hammer them in more. He was afraid to hold the nail at its base but I encouraged him to, explaining that if he focuses and he is careful he won't hit his hand. He was able to for awhile and then just ended up wielding the hammer with both hands.
Heart shape finished
Step four: Remove paper heart. Tie string around a nail leaving a tail so that you can tie the other end of string to it when done. Wrap the string around the heart a few times to define an outline (I did this part). 

Weave the string back and forth every direction using nails as anchors. My son had a great time doing this part as I expected he would (his favorite pastime is stealing balls of yarn from me and stringing up the house). When finished, adult neatens it up by tightening string and pulling stray strings that wound up on the outside of the heart into the inside. Tie the two ends of string together and cut tails with scissors.

Step five: Center and wrap a ribbon around the edges of the wood block. Then tie a knot at the top as close to the wood as possible. Tie the 2 tails of the ribbon into another knot about 6 inches from the first knot. Hang and enjoy!


Pin It!

Laminated bookmark gift for "Grandpa"

My father's birthday is in a few days. Of all the people close to me that I have ever known, I have to say my father is the most challenging of all to shop for. He has everything (materially), or so it seems, that he could ever want. Only until I had a baby — his grandchild — did I feel that I hit the nail on the head in my gift-giving. He just loves his grandson so much, that anything I come up with involving him will make my dad pretty happy on his big day. This year I was lucky to stumble upon a pretty cool craft idea from Pink and Green Mama's blog which features making bookmarks of your child "just hanging around". Since my dad is one of the most avid readers I think I have ever known, this present couldn't be more ideal. I went out and purchased a Scotch Thermal Laminator for home use for only $27 and it worked perfectly! Here is what I came up with
I had lots of fun and they were so easy to make. I kept one for myself, of course, which hopefully means I don't ever have to use such lame placeholders again such as a pen, another book, a hair clip, or my pair of reading glasses — which always, by the way, ends up in me losing my place anyway. Now all I need to do is to find that rare gem of a book that my dad hasn't read yet and pop the bookmark in and voila, gift completed! Wish me luck on that last part!


Pin It!