Showing posts with label Recycled craft. Show all posts

Sea Horse Craft


This week is Eric Carle's birthday, the beloved author and illustrator of many modern classics, including, "Brown Bear, Brown Bear, What do you see?", "The Very Hungry Caterpillar", and "Papa, Please get the Moon for me".


We love his books in our household. In celebration of Mr. Carle turning 83, I decided to read his book "Mister Seahorse" and do a colorful textured craft with my son reminiscent of the paintings in his book. "Mister Seahorse" is about a male seahorse who is going to have babies! Mrs. Seahorse deposited the eggs in his pouch and he goes about meeting other male sea animals who also care for their unborns in unusual ways. As he meets each creature, many are hidden at first, and it was fun to have my son try to spot them. When the pages were turned, the creatures became unobscured. This provided a good opportunity to discuss the word "camouflage" with him. This was a sweet book, and my son enjoyed it thoroughly.

Now onward to our craft!

First we gathered up the materials:
  • 3 colors of tempera paint (I had my son choose his favorites, yellow, orange, blue)
  • 3 textured materials to apply the paint: a sponge, bubble wrap, and an egg carton
  • 3 containers/surfaces to hold paint that will accommodate size of textured materials (for sponge I used a simple little bowl, for bubble wrap I used a meat tray, and for egg carton I used a cafeteria food tray
  • Paper cut out in shape of a sea horse (I used this image as a guide to hand-draw the outline)
  • A googly eye


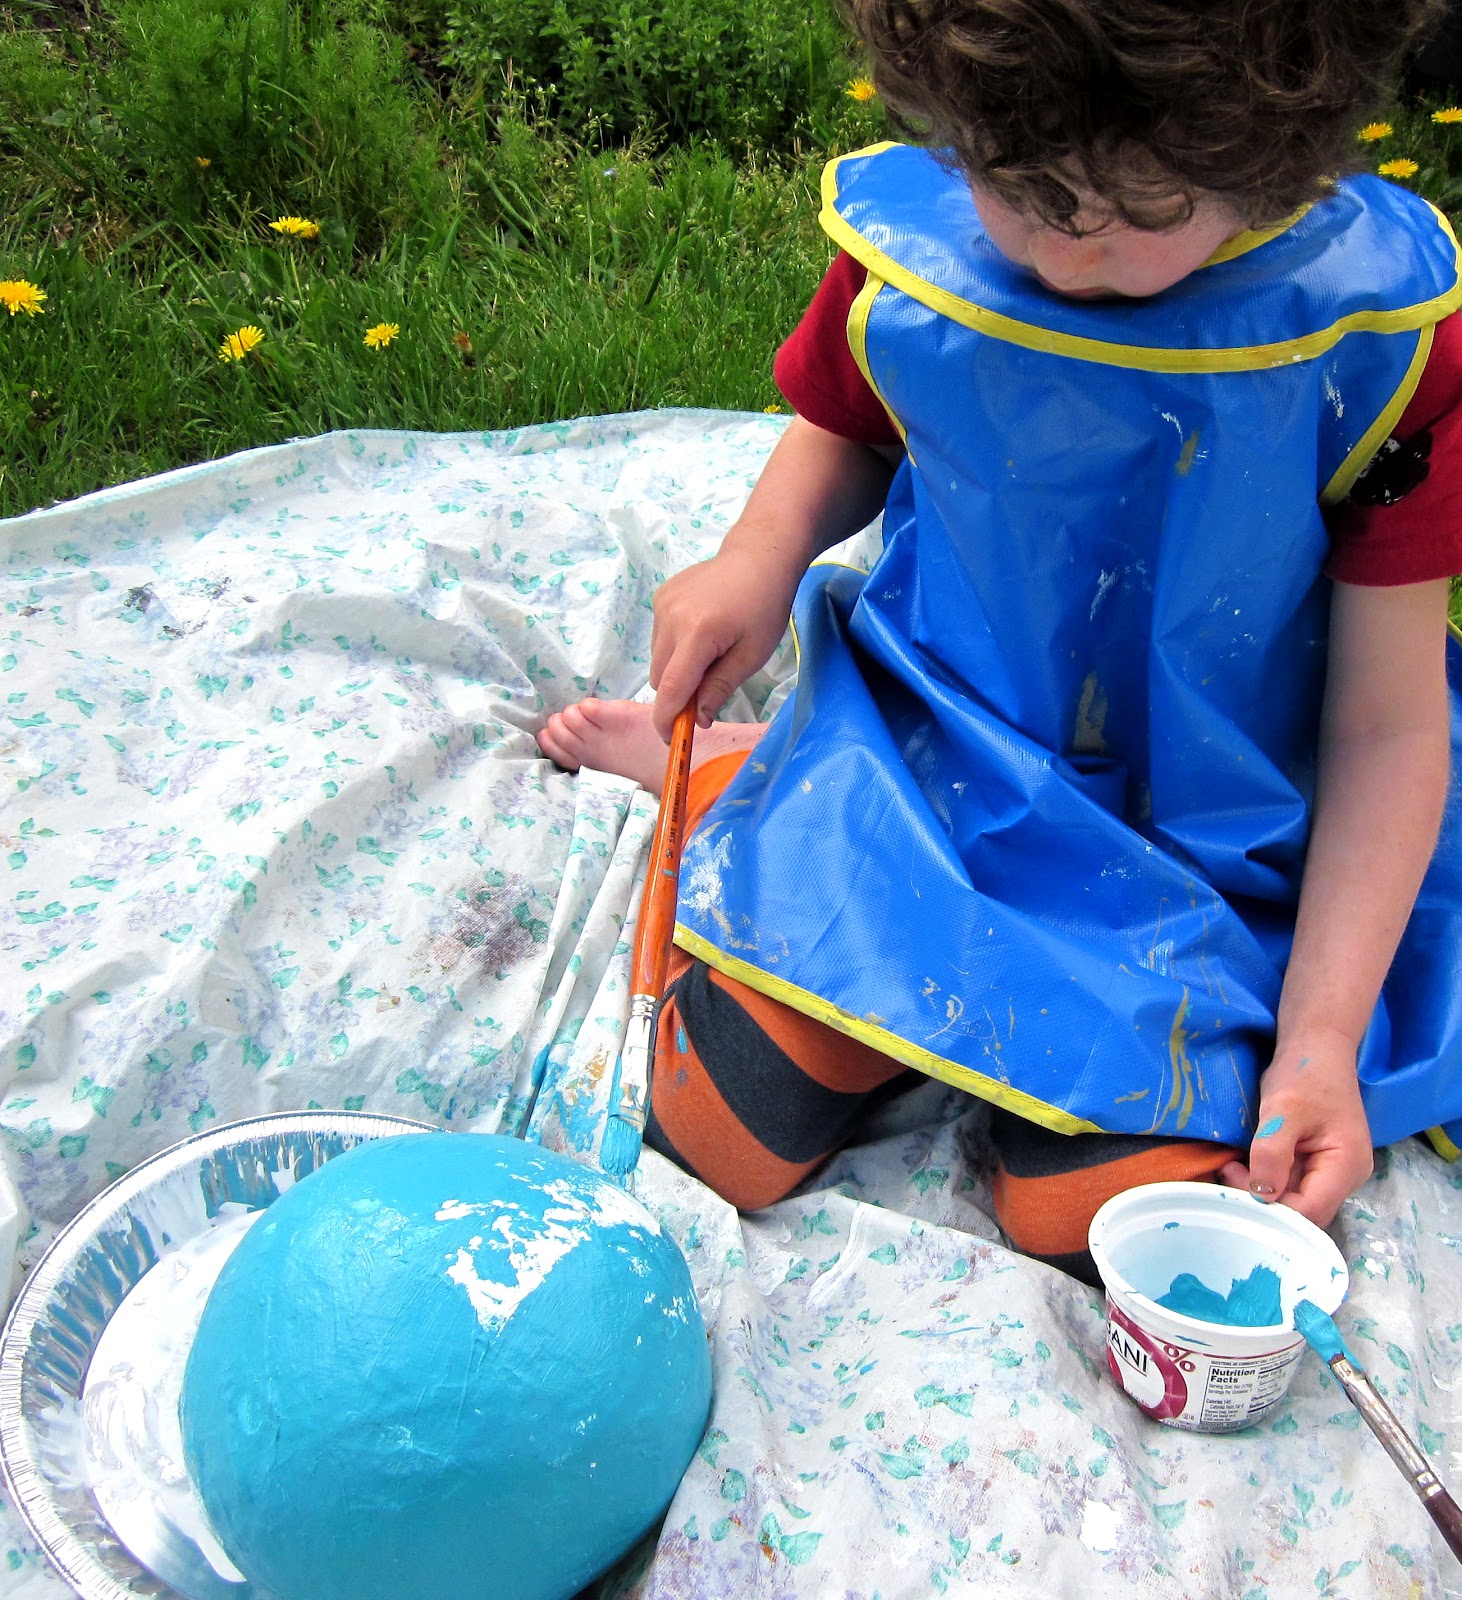
First my son used a sponge and stamped yellow paint over the entire surface of seahorse shape.


Then my son pressed the bubble wrap onto 2nd paint color (spread out on meat tray) and then stamped it on paper.


Then he pressed the egg carton into the 3rd color of paint and stamped it down onto the paper, covering the entire surface. 

As the last step he glued on the eye.


Voila! How do you like it?

Thanks for coming by and checking this out. Remember to "like" me on my Facebook Page if you want to stay informed of more kid craft ideas I post or find around the blogosphere! Have a wonderful day!

Pin It!

Make an Ocean in a Bottle & Kid's Co-op Link up Party

Lasso the Moon

I personally love this craft! I made this with my son about 2 years ago, and thought that we would revisit it. The materials are easy to gather, and the bottle takes minutes to put together.

 First we gathered up the materials:
  • Oil (I like to keep on hand the cheapest oil I can find at the store specifically for crafts like this, or playdough, etc)
  • An empty plastic bottle with cap
  • Blue Watercolor (ours is from Discount School Supply), food dye would work fine too
  • Glitter
  • Other objects that represent the ocean (sand, shells, a shark)
  • Funnel
  • Liquid measuring cup (only because it is easy to pour from, we didn't use it for measuring)
First, I had my son pour water into the bottle to about the half-way mark, and then I had him put in the watercolor.
 Then I had him add the glitter.
We squeezed the rubber floaty shark in, and then poured some oil in. Next time I will remember not to use ocean creatures that float, and use instead the solid plastic ones that sink to the bottom — that way the sea creatures stay in the ocean part.
Before the oil reached the top, we put the sand and the shells in. 

We then poured oil as high up as it could go to the top and capped it, turning it as tightly as I could. Last time I think I put special glue inside the cap to make sure it stayed sealed. I didn't do that this time, as I felt secure that I screwed the top tight enough that it wouldn't come loose.

Voila! My son had fun putting it up to the light and watching the waves tumble back and forth. Such a gratifying easy craft that I highly recommend!

Things Bode learned:
  • Oil and water don't mix
  • Oil is actually lighter in weight than water and floats to the top.
  • The watercolor mixes with the water and not with the oil, because it is water-based.
Thanks for coming by and checking this out. Remember to "like" me on my Facebook Page if you want to stay informed of more kid craft ideas I post or find around the blogosphere! Now onto the Link-up Party! Have a wonderful day!


Pin It!

Quick Butterfly Craft from magazine pages


I thought I would write a post on a very easy and simple butterfly craft you can do with your children. All you need are scissors, magazines, a pipe cleaner, and fishing line (optional). At the time of this writing a Butterfly Blog Hop just went live at Plain Vanilla Mom and I wanted to submit this tutorial. You all should hop on over there and see what other ideas people came up with pertaining to butterflies.

I like this project because:
  1. Children of all ages love it  
  2. It reuses magazines that might otherwise be tossed  
  3. It requires minimal preparation.
Children under 5 may need one-on-one assistance in helping with the folding and the cutting.
First have the children choose 2 magazine pages to use. I encourage them to look for pages that are brightly colored, or that have an interesting repeating pattern.
On the Paper #1 (the bottom set of wings) fold the paper in half. With scissors cut the corners so they are nice and rounded.
On Paper #2 (the top set of wings) Fold a triangle down and cut bottom strip, so that when it is unfolded it is a square.
When the pages are unfolded they should look like this.
Take Paper #1 and make an accordian fold going all the way up to the top of the paper.
 On paper #2 turn the paper diagonal and fold as shown.

I like to fold the resulting folded papers in half so I know where the center point is on each.
This is so easy! I like to attach a short length of fishing line to the butterflies with a loop on the other end so that the kids can "fly" them on the playground. This craft is always a big hit!

Thanks for coming by and checking this out. Remember to "like" me on my Facebook Page if you want to stay informed of more kid craft ideas I post or find around the blogosphere!
Pin It!

Designing a Garden from pictures; and a gardening blog hop!


One of my favorite crafts to do with preschoolers this time of year is to have them design, on paper, their own garden plots. Children from 2 years up to 6 years of age enjoy this activity. The materials used are easily accessible — just construction paper, scissors, glue and pictures of garden plants are all that are needed. It is a great way to recycle garden catalogs (I use them for my Rainbow Collage images also, see the post here).

This craft is beneficial to children in that:
  • it is an opportunity to practice and develop cutting skills
  • it is an opportunity to practice and develop gluing skills
  • it is an opportunity to categorize plant foods and to differentiate between fruits and vegetables
In addition, if the child will be planting in their own garden plot it will help them to have a clearer vision of what they would like to plant.

I did this project one-on-one with my son at home, as this year, he has his own "real" garden plot to fill. We had fun discussing what fruits, veggies, and flowers he would like in his garden. Of course the collage is more of an exercise to get him thinking about it, and design and choices are not set in stone!


First I had my son cut out all of the pictures of plants that he would like in his garden.  He is four years old, and I found that he at times needed help stabilizing the flimsy catalog paper, as well as reminders that the thumb on the cutting hand should be above the rest of his fingers. Younger children may require hand-over-hand positioning and cutting and verbal cues (open, close, open, close) as well as help in stabilizing the paper.

I then had my son apply glue to the paper. I told him that the brown paper represents the soil in his garden bed.


He then placed the pictures where he wants them. Easy "pea"sy!
Many of the plants that he glued on the paper we did in fact plant in his garden (corn, teddy bear sunflowers, and sugar snap peas).
A few days after he completed this collage we went to the nursery, and he had many of the plants that he viewed fresh in his mind. I believe this activity helped to mentally prepare him for the next step. I will be posting soon on how planting the seeds turned out!

Have fun and happy gardening!

If you like what you have seen on this blog and you want to stay informed of future posts I would love if you "liked" Mama's Little Muse Facebook Page here.

Check out the Gardening Blog Hop down below: the co-hosts are
www.momto2poshlildivas.com
http://www.kitchencounterchronicle.com
www.theeducatorsspinonit.blogspot.com
http://www.duckduckoctopus.com
http://livingmontessorinow.com
http://www.rainydaymum.co.uk
http://readysetread2me.blogspot.com
http://playfullearners.co.uk
http://craftymomsshare.blogspot.com/
http://glitteringmuffins.com


Pin It!

Our Earth Day Pledge


Earth Day is an important day of celebration in my household.

I want my son to grow up with a sense of reverence for this great planet that we live on. I try my best to be a good role model to him in this regard — I bring my own bags to the market, I buy in bulk, & I try to consume less on the whole.  But despite my efforts, I know that I still need reminders, just as he needs to be taught good habits and behaviors. Earth Day may technically fall on a mere single day each year, but I would like my son and I to live consciously and make "Every Day Earth Day".

We spent the week that led up to Earth Day reading the following books on how we can take care of the Earth. Click on title below book to be led to Amazon site

The Earth Book, by Todd Parr

10 Things I Can Do To Help Save My World, by Melanie Walsh
Love your world, by Dawn Sirett
All of these books were wonderfully written and successfully engaged my son. They offered a multitude of ways we can care for the earth - by not littering, by using both sides of the paper, by growing a garden, by turning off the lights when leaving the room, etc. The Earth Book, by Todd Parr, offered a very silly way to take care of the Earth, and it got the biggest laugh from my son, thereby becoming the most requested. I recommend all of them highly.


Various views of our completed project
After reading the aforementioned books, we brainstormed ways that we would like to help the Earth throughout the year. We called this "Our Earth Day Pledge". I typed up the list on my computer (I found a kid font that I thought would be perfect called "rayando". Find it for free here). I printed out our intentions and cut them into strips. I mod podged them onto one of Earths we made out of paper mache (see the last post here for directions). *Note: for this Earth I used green paint for the land masses, not glitter.**If you don't know about Mod Podge yet, you should! It pretty much makes everything look better! Check out Mod Podge Rocks website for great tutorials on how to use it.

Close-up of tag hanging down
I then hung a strip of paper tied to a fishing line down from the bottom of the Earth that said "Earth Day Pledge" on one side, and "We love Mother Earth" on the other. The fishing line was suspended from a toothpick I pushed up through a drilled hole in the Earth.
Full shot of Earth and tag


We hung our finished Earth from the ceiling in my art studio, so that we can be reminded of our pledge each day.

Let us all try to embrace ecologically sensible habits. Efforts put forth by each of us can make a difference.

Thanks for visiting!


Pin It!

Glittery Paper-mache Earth Hanging!


I was feeling really brave last week when I decided to tackle paper-mache with my son!

It's MESSY!

Really messy!

As a parent, I have a love/hate relationship with messes.

BUT I am happy to say... the LOVE part wins out when I realize how this kind of sensory activity can be one of the greatest joys of childhood!

(I know, I remember!)

Therefore, we threw the smocks on, rolled up our sleeves and dove in!

After all, our Earth Day Celebration wouldn't feel complete without building a model of our big blue planet itself, in tribute.

For Paper Mache part we used: flour and water mixed to a thick-like soup.  We dipped strips of newspaper in the paper-mache, removed excess pulp with our fingers, and then placed on round balloon.  We built it up 3 layers thick.


Mixing up the paste

Placing the strips. Bode LOVED this part! He was very careful to lay them on flat and smooth them out.

Our paper-covered balloons drying in the sun. I eventually moved them inside and set them over our heater vents, turning periodically. Once they dried completely, I could feel the areas that were thin, and applied more strips of newspaper, and let sit again for a few days.

After the paper-mache dried, we sanded down the surface to smooth it out.

Painting gesso on to prepare surface for paint.

It was a nice day, so we took the acrylic paints outside, and painted the "Earth" blue.

Our Earths drying
After the blue paint was dry, I did my best to paint on the shapes of the continents green. This was harder than I thought! Next time I think I will sketch it out in pencil first before commiting with paint — my continents tended to cluster on one side of the globe...who knew North America and Australia were so close to each other? LOL. I then painted glue on with a brush on top of the green. Bode sprinkled green glitter onto the glue.
I let each side dry and then we turned it over to do the other side.

We drilled a hole in the top. My boyfriend found a spring hook at a recycled building materials store that attached. I wish I could tell you the exact name of it (my google search was unsuccessful). Although I think an eye hook toggle bolt would work just as well. I then attached fishing line, and hung it up! The glitterized hanging Earth now graces my art studio! It is about 6.5 inches in diameter. Later in the week I will post about what Bode and I did with the other paper-mache Earth that we made alongside this one — it was fun, as well as educational! Stay tuned!


Pin It!